When it comes to choosing the best wood for floating shelves, especially in small spaces, there are several factors to consider. Floating shelves not only provide a sleek, modern look to any room but also offer practical storage solutions without consuming valuable floor space. In this comprehensive guide, we will explore the various types of wood suitable for floating shelves, considering durability, aesthetics, and suitability for different room environments.
The Importance of Choosing the Right Wood
Selecting the right wood for floating shelves is crucial for both their appearance and functionality. The type of wood determines the shelf’s strength, longevity, and how well it complements the room’s decor. Additionally, in small spaces, where every detail counts, choosing the right wood can significantly impact the overall ambiance of the room.
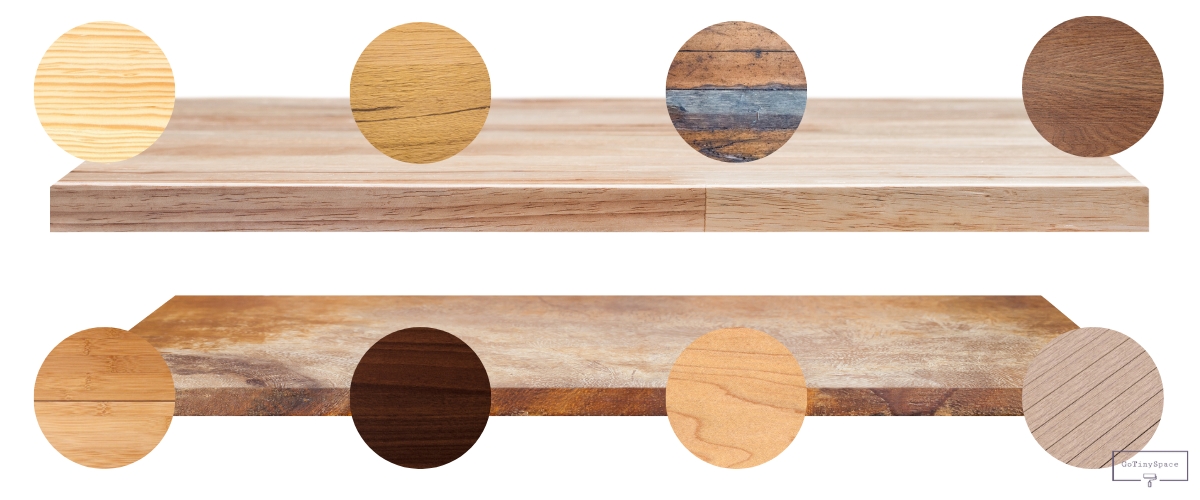
Best Type of Wood for Floating Shelves
1. Pine: A Popular Choice for Versatility

Pine is one of the most popular choices for floating shelves due to its versatility and affordability. It’s relatively lightweight, which makes it easy to install, and it can be painted or stained to match any decor. Pine is also known for its unique grain patterns, which add character to the shelves.
2. Oak: Durable and Timeless

Oak is another excellent choice for floating shelves. Known for its strength and durability, oak can withstand heavy loads, making it ideal for holding books or kitchenware. Its natural grain adds a touch of elegance and timeless appeal to any room.
3. Walnut: For a Touch of Sophistication

If you’re looking for shelves that add a level of sophistication to your space, walnut is a great option. With its rich, dark tones and strong grain patterns, walnut shelves are not only beautiful but also extremely durable.
4. Maple: Light and Bright
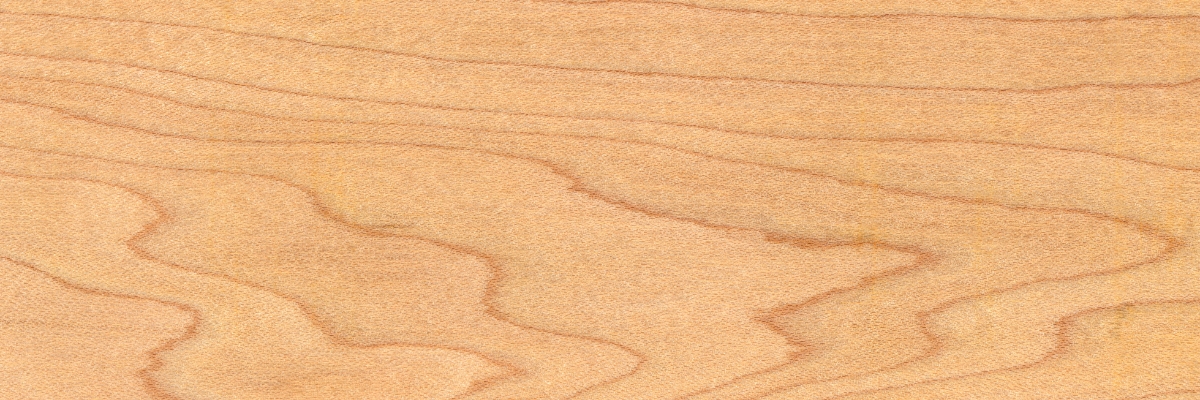
Maple wood offers a lighter alternative, ideal for creating a bright and airy feel in small spaces. Its subtle grain pattern and ability to take on stains well make it a versatile option for various interior styles.
5. Cherry: Aging with Grace

Cherry wood is renowned for its beautiful aging process. Over time, it develops a rich, deep patina that adds warmth and character to the room. Cherry wood floating shelves can be a great addition to spaces where a natural, evolving look is desired.
6. Reclaimed Wood: Eco-Friendly and Unique
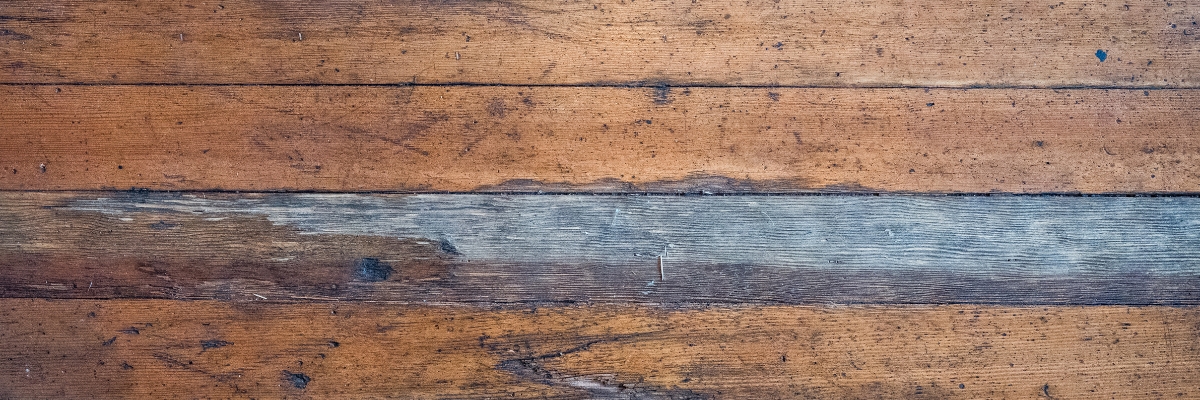
For those who are environmentally conscious, reclaimed wood is an excellent choice. Each piece has its own history and unique marks, adding a rustic charm to your space. Reclaimed wood is not only eco-friendly but also sturdy and rich in character.
7. Bamboo: Modern and Sustainable
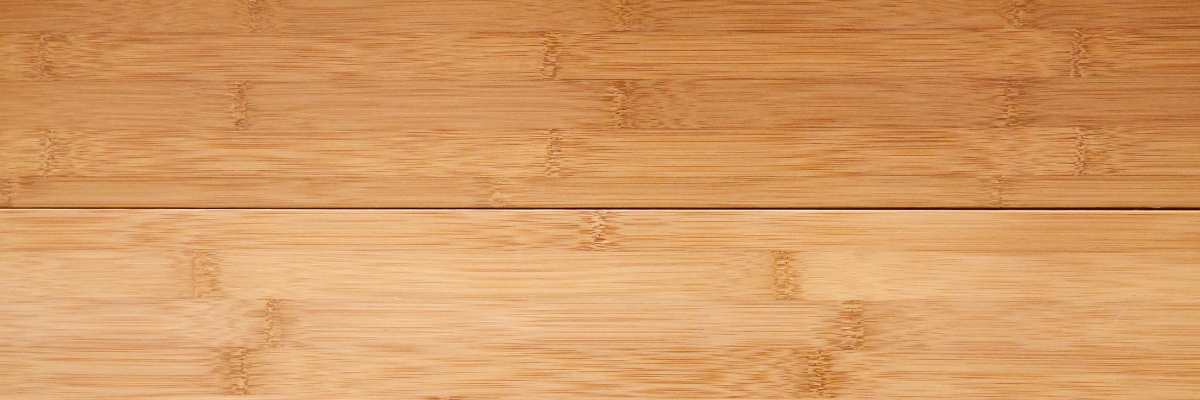
Bamboo, though technically a grass, is a popular modern choice for floating shelves. It’s incredibly sustainable, grows quickly, and is surprisingly strong. Its smooth grain and natural color provide a contemporary look suitable for minimalist decor.
8. Composite Woods: An Affordable Alternative
If natural wood is out of your budget, consider composite woods like MDF or particleboard. These materials are less expensive and can be veneered or painted to mimic the look of real wood. However, they may not be as durable as solid wood options.
Factors to Consider When Choosing Wood
When selecting the best wood for your floating shelves, consider the room’s moisture level, the weight of items to be placed on the shelves, and the overall style of your space. For example, in a humid environment like a bathroom, it’s crucial to choose a wood that can withstand moisture.
Finishing and Maintenance
Proper finishing and maintenance are essential for the longevity of your floating shelves. Choose the right type of sealant or varnish to protect the wood, especially in areas prone to moisture or spills. Regular cleaning and occasional refinishing can keep your shelves looking new for years.
How to Install Wood Floating Shelves: A Step-by-Step Guide
Installing wood floating shelves is a fantastic way to add both functionality and aesthetic appeal to your space. Whether you’re a DIY enthusiast or a novice in home improvement projects, this guide will help you through the process of installing wood floating shelves.
Materials and Tools Needed
- Wood floating shelves
- Stud finder
- Level
- Drill and drill bits
- Screws and wall anchors (if necessary)
- Screwdriver or power drill with a screwdriver bit
- Pencil
- Tape measure
Step 1: Choose the Right Location
Before beginning the installation, decide where you want to place the shelves. Consider the purpose of the shelves and the items you plan to put on them. Ensure the location you choose is practical and complements the room’s layout.
Step 2: Locate the Studs
Using a stud finder, locate the studs in the wall where you’ll be installing the shelves. Marking the studs is crucial as they provide the most secure point for installing the shelves. If you can’t find a stud, you’ll need to use wall anchors to ensure the shelves are properly supported.
Step 3: Mark the Position of the Shelves
Hold the shelf against the wall at the desired height and use a level to ensure it’s straight. Once level, mark the wall through the mounting holes in the shelf or bracket. Make sure these marks align with the studs or where the wall anchors will go.
Step 4: Drill Pilot Holes
Drill pilot holes at the marked points. Be sure to use a drill bit that is slightly smaller than the size of the screws you’ll be using. This step is important to prevent the wood from splitting when you screw in the brackets.
Step 5: Install Wall Anchors (if necessary)
If your pilot holes are not in a stud, you’ll need to install wall anchors. Tap the anchors into the pilot holes gently with a hammer until they are flush with the wall.
Step 6: Attach the Brackets
Line up the brackets with the pilot holes (or wall anchors) and screw them into place. Make sure they are tight and secure. For floating shelves, these brackets will typically be an integral part of the shelf design and will be hidden once the shelf is installed.
Step 7: Place the Shelf on the Brackets
Carefully place the shelf onto the brackets. Some floating shelf designs may require you to slide the shelf onto the brackets, while others may have a more straightforward placement.
Step 8: Secure the Shelf (if required)
Some floating shelf designs include a way to secure the shelf to the bracket for additional stability. This could be with small screws that are screwed in from the underside or a locking mechanism that holds the shelf in place. Follow the manufacturer’s instructions for your specific shelf type.
Step 9: Check for Stability and Level
Once the shelf is installed, check again with a level to ensure it’s perfectly horizontal. Gently test the stability of the shelf by applying a little pressure. If it feels secure, you’re good to go.
Step 10: Add Your Items
Now that your shelf is securely installed, you can start placing items on it. Remember not to exceed the recommended weight limit to ensure the shelf remains secure and stable.
Conclusion
In conclusion, the best wood for floating shelves depends on various factors, including the intended use, room environment, and personal style preferences. Whether you choose pine, oak, walnut, maple, cherry, reclaimed wood, bamboo, or a composite wood, each has its advantages and characteristics. By understanding these nuances, you can make an informed decision that enhances the functionality and aesthetics of your small space.
Frequently Asked Questions (FAQs)
Hardwoods such as oak, walnut, and maple are among the best choices for floating shelves due to their durability. These woods are less prone to warping or bending under weight, making them ideal for holding heavier items. Oak, in particular, is known for its strength and longevity, while walnut and maple offer a balance of durability and aesthetic appeal.
Pine can be used for floating shelves in high-humidity areas, but it’s important to properly seal and treat the wood to prevent moisture damage. Pine is softer and more susceptible to warping in humid conditions, so applying a water-resistant sealant is crucial to maintain its shape and appearance. However, for better resistance to humidity, woods like teak or cedar might be more suitable.
Yes, reclaimed wood can be an excellent choice for floating shelves, especially if you’re looking for an eco-friendly option with unique character. Reclaimed wood is not only sturdy and durable but also comes with a history and distinctive look that adds rustic charm to your space. However, ensure the wood is properly treated and free from pests before installation.
When choosing wood based on room decor, consider the overall aesthetic you want to achieve. For a modern and sleek look, woods with a fine grain and lighter color, like maple or birch, are ideal. For a warmer, more traditional feel, go for woods with rich tones and visible grain patterns, such as cherry or mahogany. The key is to choose a wood that complements other wooden elements and the color scheme of the room.
While hardwoods are generally preferred for their strength and durability, softer woods like pine or cedar can also be effective for floating shelves, especially in scenarios where the load is lighter. Softer woods are more affordable and easier to work with, making them a good choice for decorative shelves that won’t hold heavy items. However, for shelves intended to bear more weight, like bookshelves or kitchen shelving, hardwoods are recommended for their robustness.
Read Also:
- 10 Must-Have Tiny House Essentials for a Comfortable Living
- Tiny Homes Space Saving Ideas: Maximize Your Small Space
- 14 Chic Floating Shelves with Lights
- Vertical Storage Solutions and 27 Ideas
- Maximizing Your Space: Floating Shelves Next to Fireplace
Hi! I'm Edmundas, a devoted minimalist and expert in making the most out of small spaces. Through years of experience in interior design and innovative space-saving solutions, I've mastered the art of transforming compact areas into functional, stylish havens. Here at GotinySpace, I share my insights and tips to help you embrace a simpler, more organized lifestyle. Join me on this journey to discover how less can indeed be more.