I get commissions for purchases made through links on the site. As an Amazon Associate I earn from qualifying purchases. Learn more.
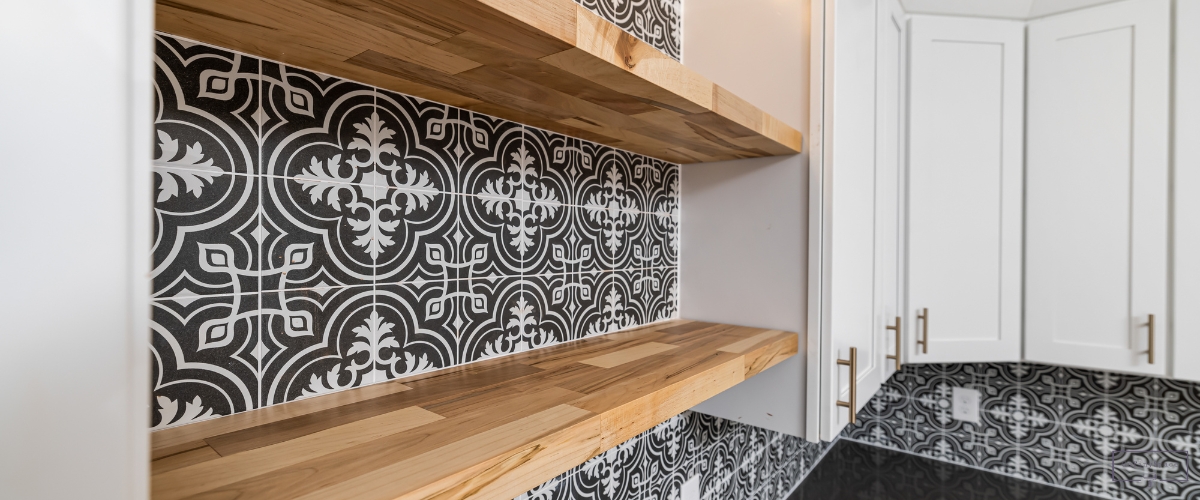
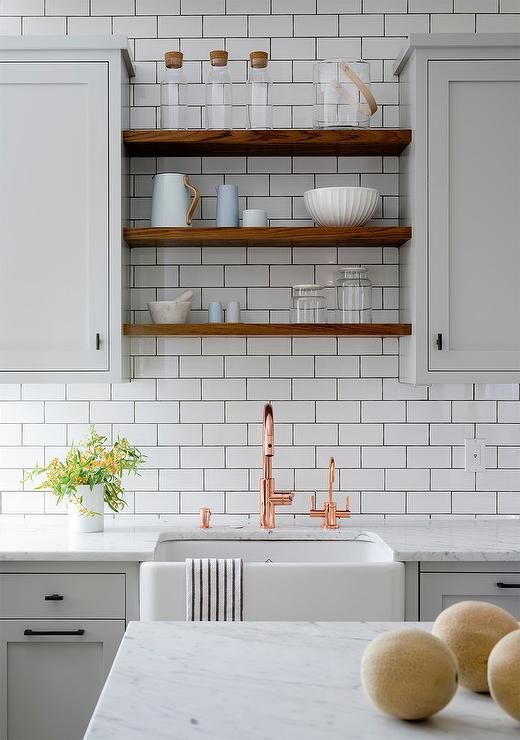
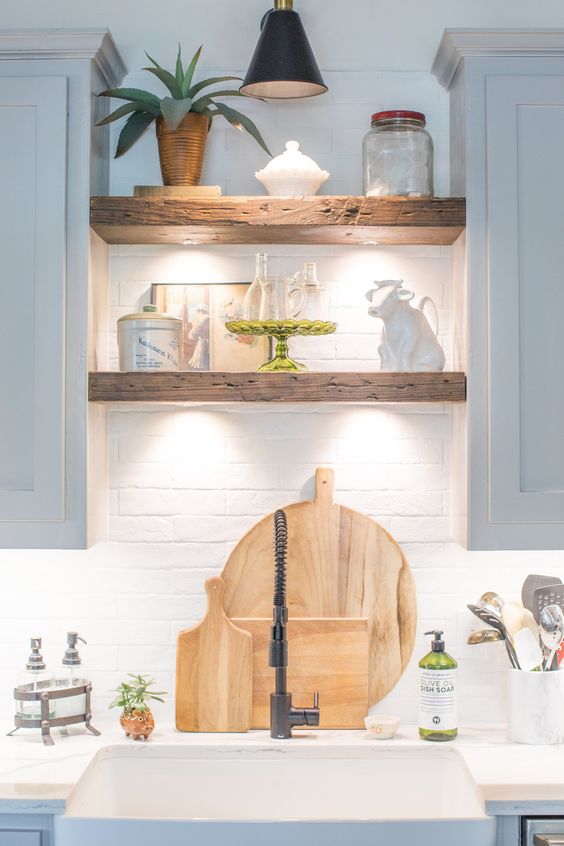
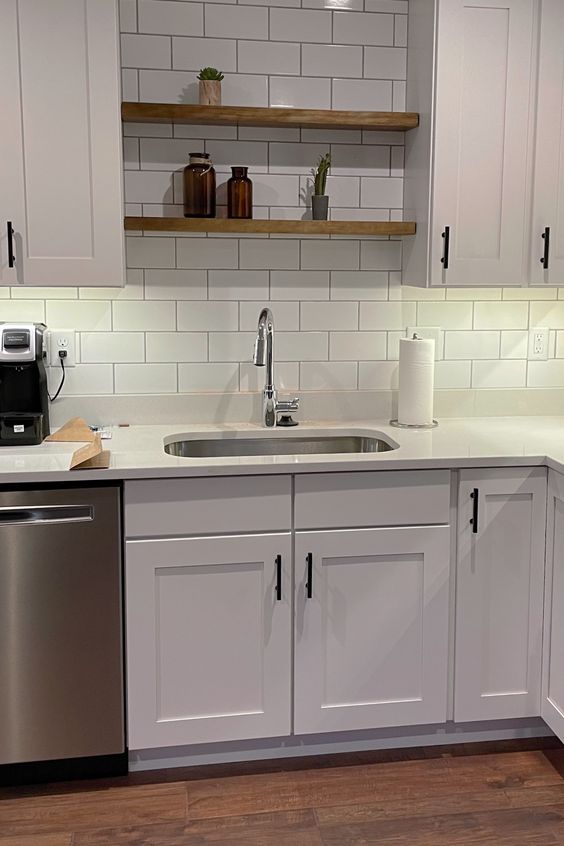
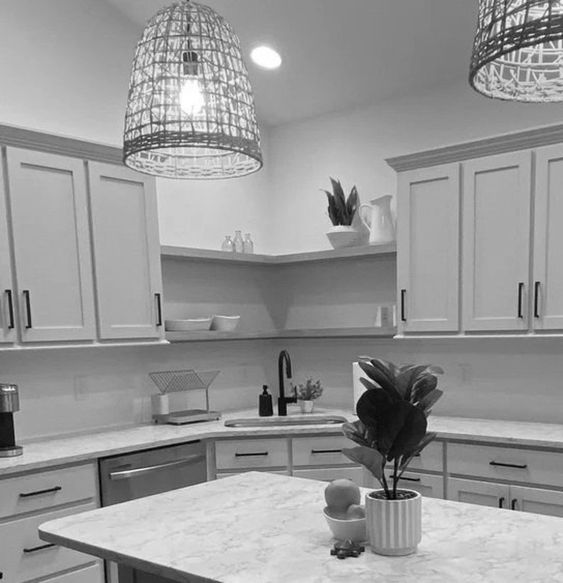
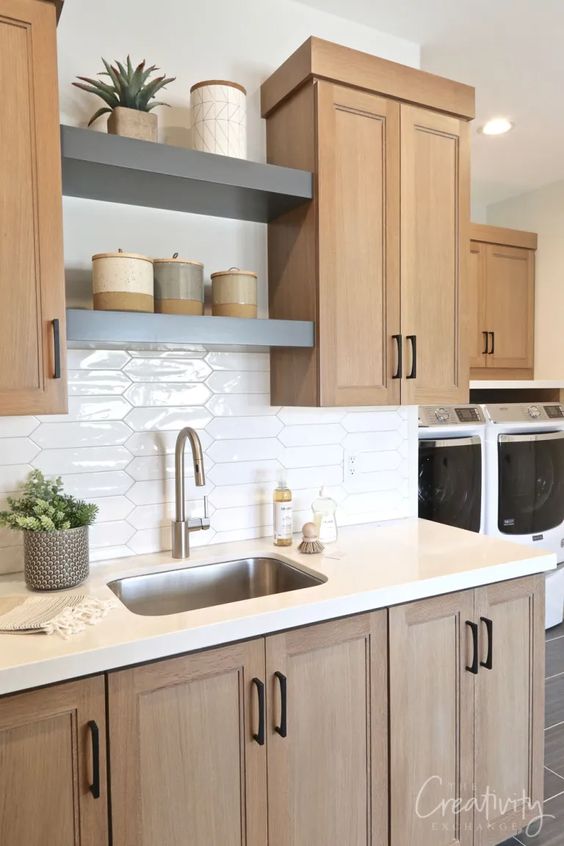
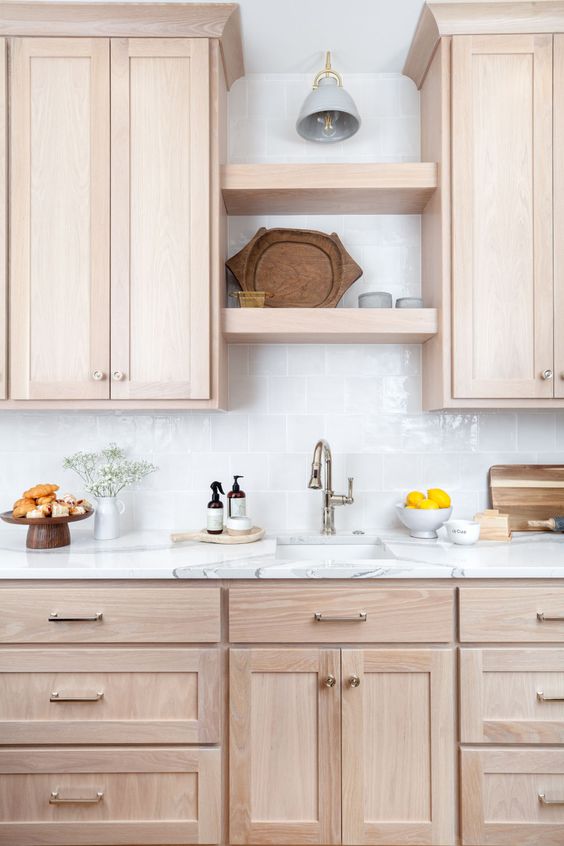
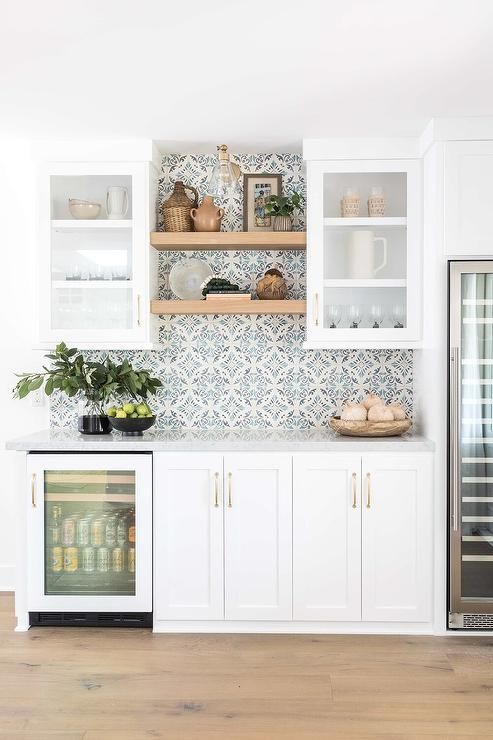
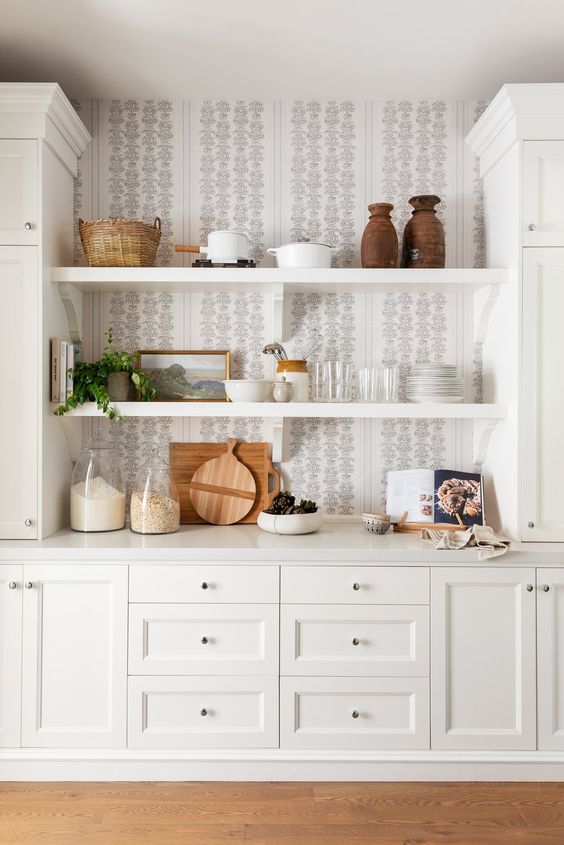
Have you ever looked at your kitchen and thought, If only I had more space? Well, you’re not alone. In the world of tiny apartments and compact houses, making the most of every inch is more than a necessity—it’s an art. This is where the genius of floating shelves between cabinets comes into play.
23 Kitchen’s Floating Shelves Between Cabinets Ideas
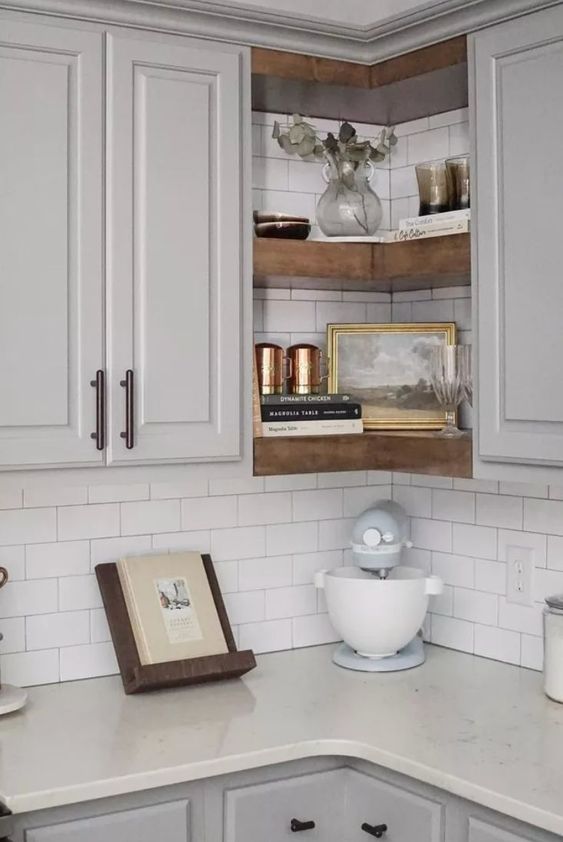
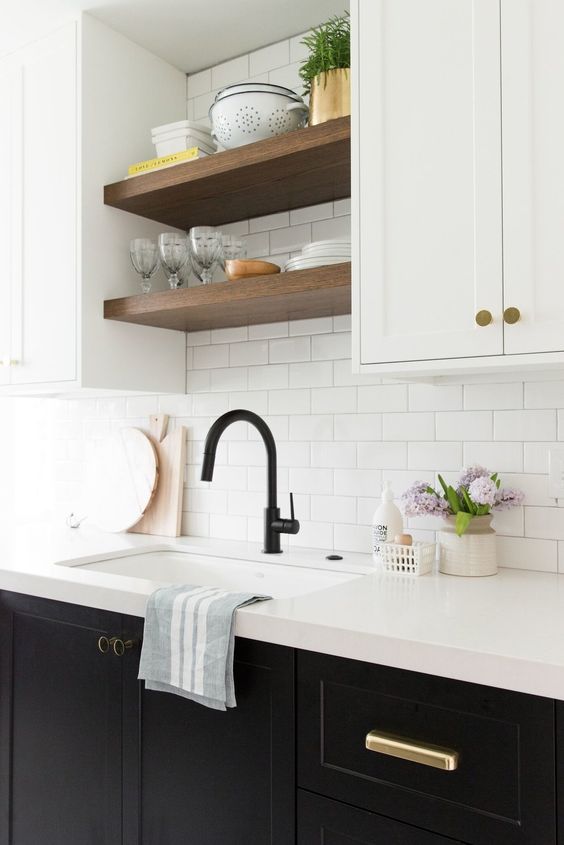
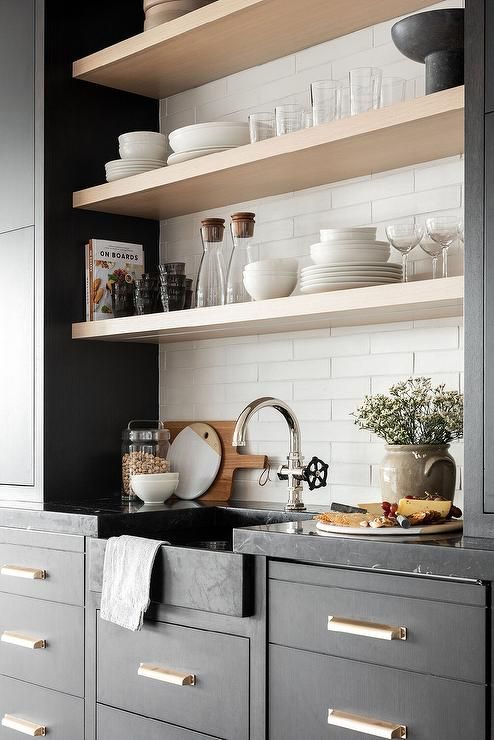
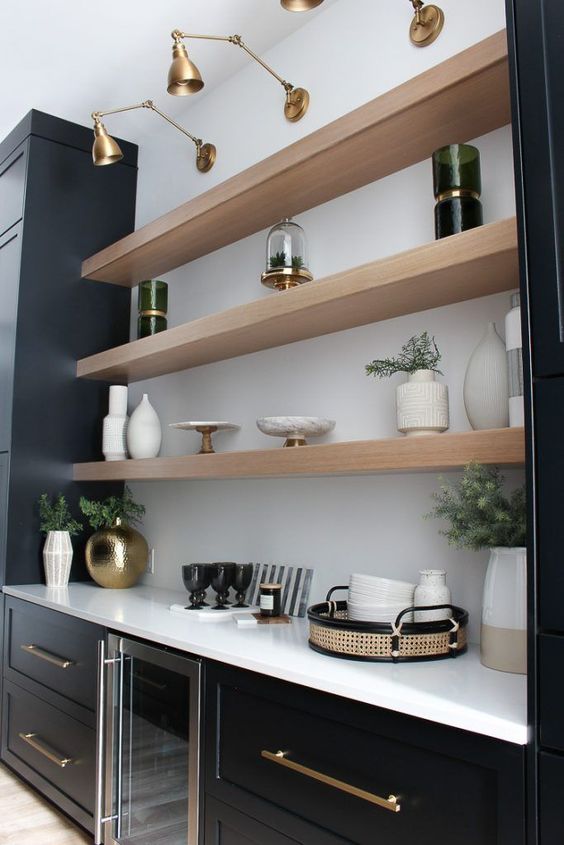
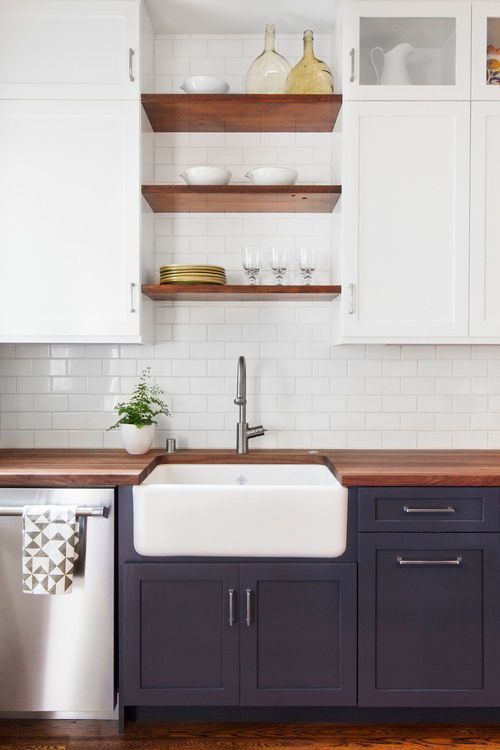
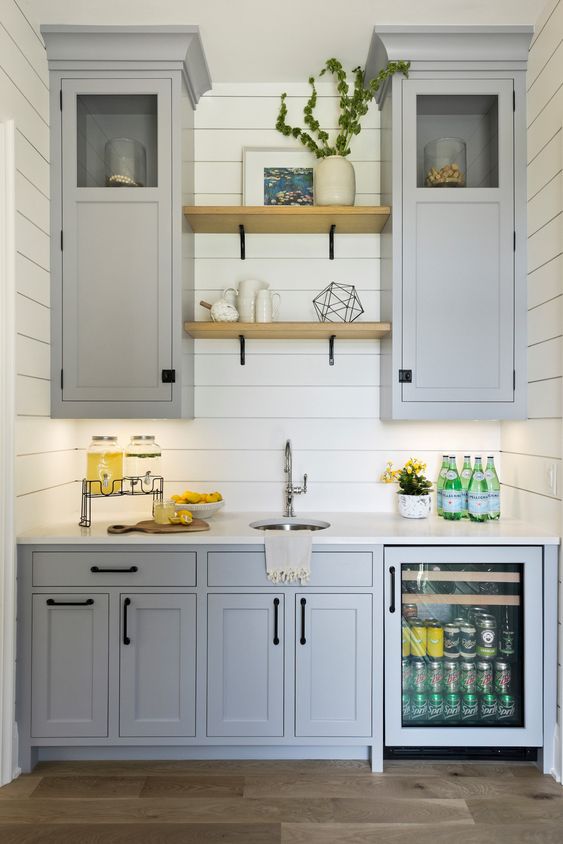
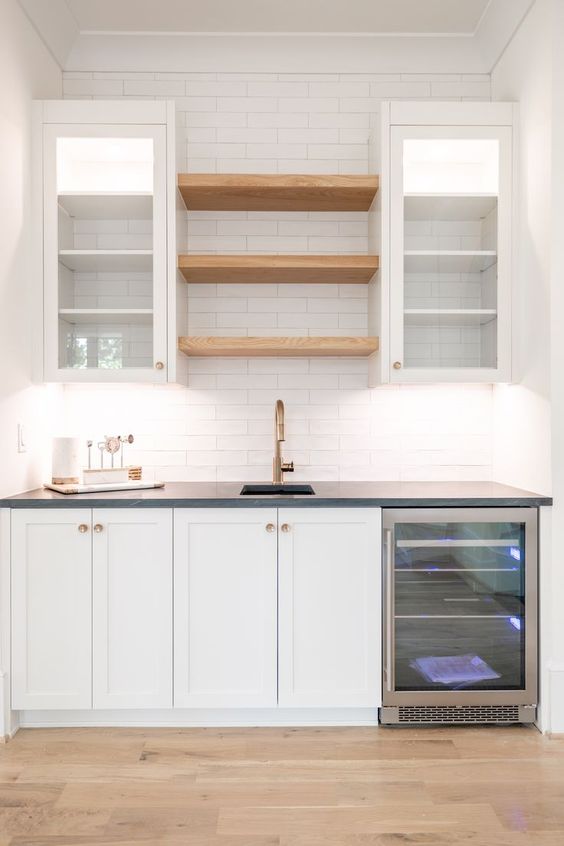
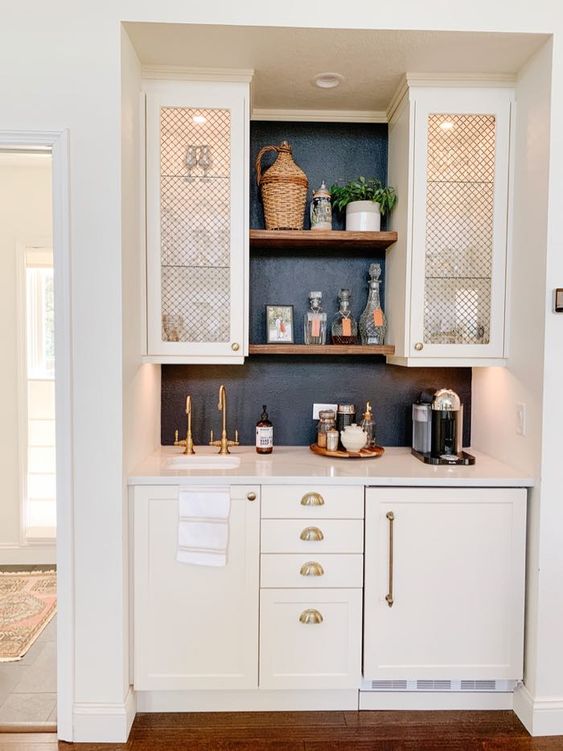
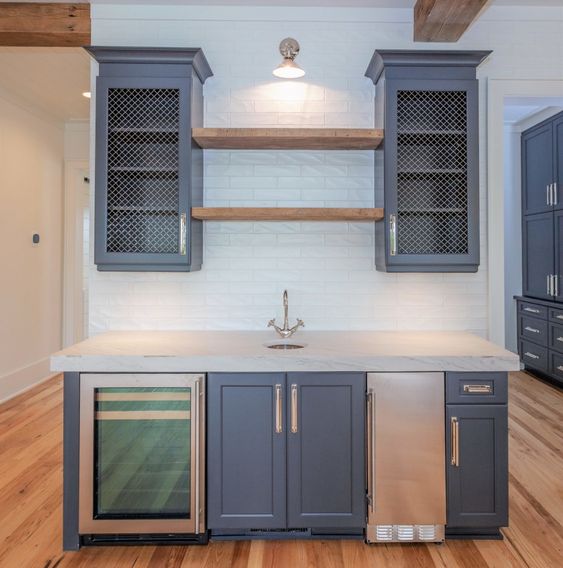
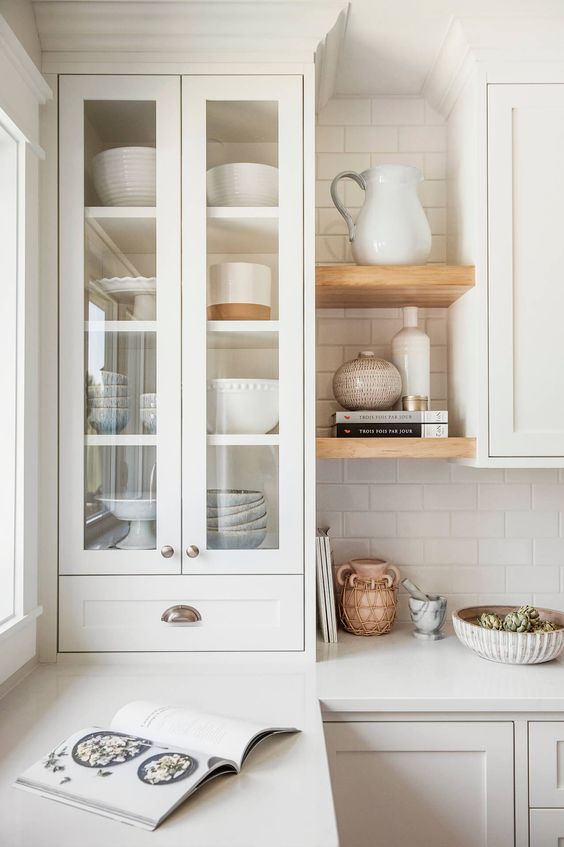
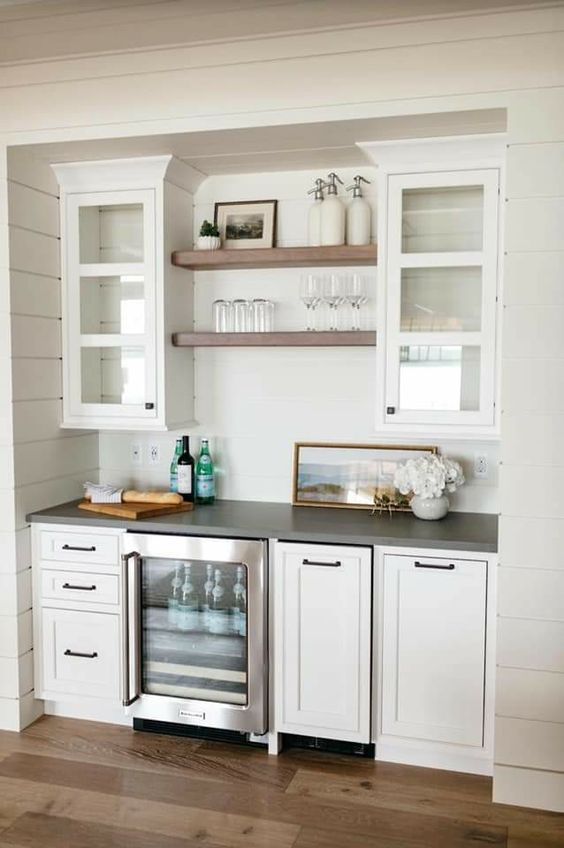
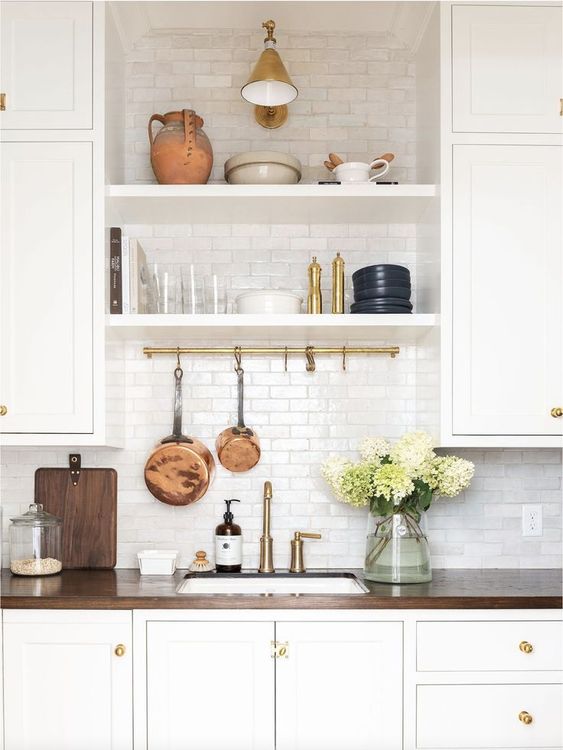
Understanding the Charm of Floating Shelves
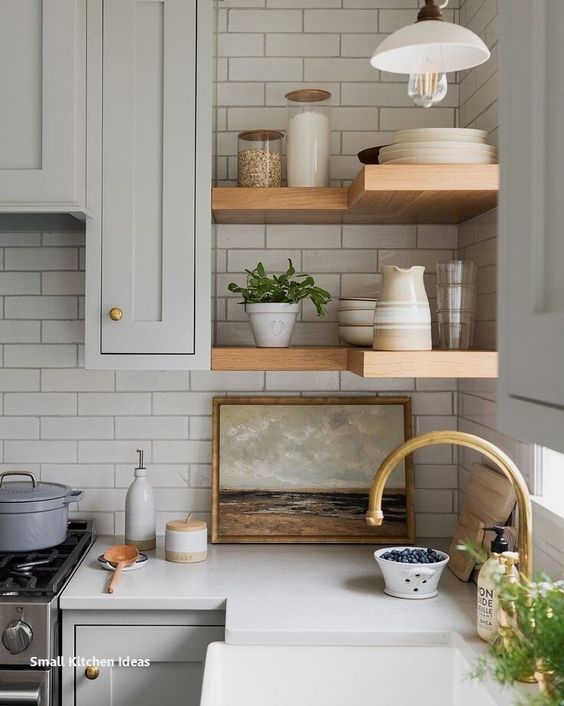
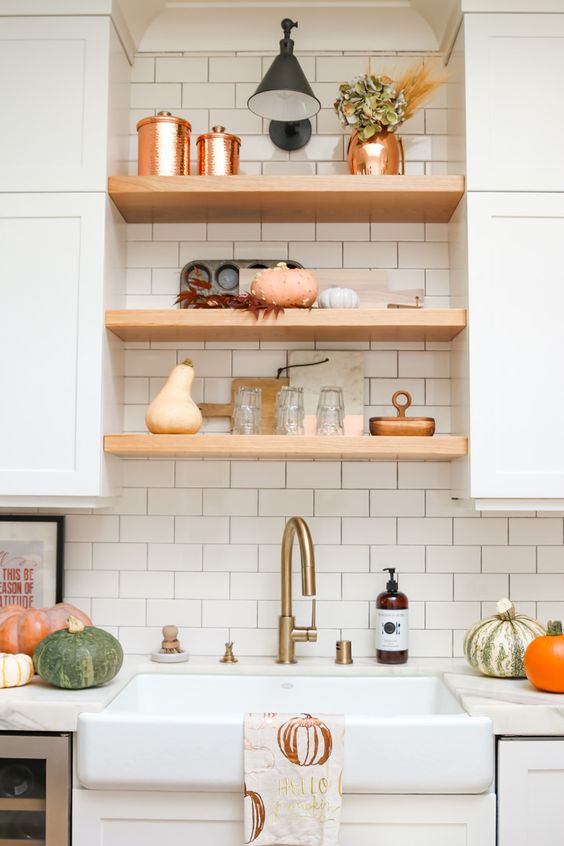
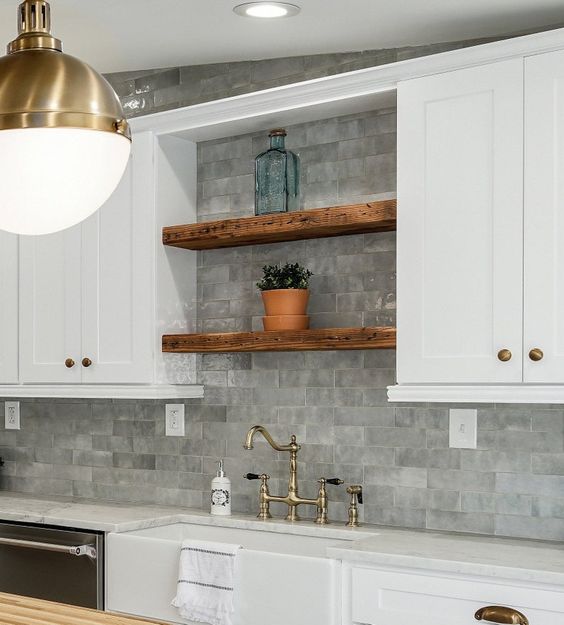
Floating shelves, those sleek, unobtrusive slabs of wood or metal that seem to magically adhere to walls, have become a darling in the interior design world. But why are they so popular, especially between cabinets?
First, they’re incredibly space-efficient. Unlike bulky, freestanding shelving units, floating shelves take up zero floor space. They create storage out of thin air—literally! Plus, they have this uncanny ability to look both minimalist and chic, making them perfect for modern kitchens.
The Practical Benefits of Floating Shelves Between Cabinets
- Increased Storage Space: This is the most obvious advantage. Adding shelves between cabinets gives you extra room to store anything from spices and cookbooks to dishes and decorative items.
- Easy Access: Floating shelves put everything within easy reach, making them perfect for items you use frequently. No more rummaging through crowded cabinets!
- Customizable: You can choose the size, material, and color of your shelves to match your kitchen’s décor. It’s a tailor-made solution that’s both practical and stylish.
How to Style Your Floating Shelves
Styling your floating shelves can be as much fun as it is functional. Here are some tips:
- Balance Function and Aesthetics: Mix practical items like glasses or plates with decorative pieces like vases or framed pictures.
- Use Baskets or Containers: To maintain a neat appearance, use stylish baskets or containers for smaller items.
- Play with Heights and Textures: Create a visually interesting display by mixing items of different heights and textures.
Installing Floating Shelves Without Drilling
So, you want to up your shelf game without turning your walls into Swiss cheese? No problem! Here’s the lowdown on getting those sleek floating shelves up without drilling:
- Adhesive Strips: These bad boys are like double-sided tape on steroids. Just stick ’em on the back of your shelves, press firmly against the wall and cabinets, and you’ve got yourself a no-fuss, no-muss install. Plus, they come off clean, so your security deposit is safe.
- Adhesive Glue: If you’re after something a bit more hardcore, grab some adhesive glue designed for mounting. Apply it to the back of the shelf and corners, set it in place, and give it time to bond. It’s a solid choice for a more durable hold, just make sure to pick one that’s easy to remove if you ever decide to relocate your display.
There you have it—floating shelves without the drill drama. Just make sure you follow the weight guidelines to avoid a décor disaster!
Heavy-Duty Mounting Adhesive – No More Nails
1. UniBond No More Nails Original
Say goodbye to the drill with UniBond No More Nails Original, your go-to solution for heavy-duty mounting without the mess and fuss of traditional hardware. This mighty adhesive is engineered to bond wood, ceramic, metal, and more with phenomenal strength. Its white, instant-grab formula ensures a firm hold in seconds, perfect for setting up those floating shelves without a single nail. Easy to apply with its 234g tube, it’s the ideal pick for creating a sleek, modern look in your space with ease and confidence.
Check Price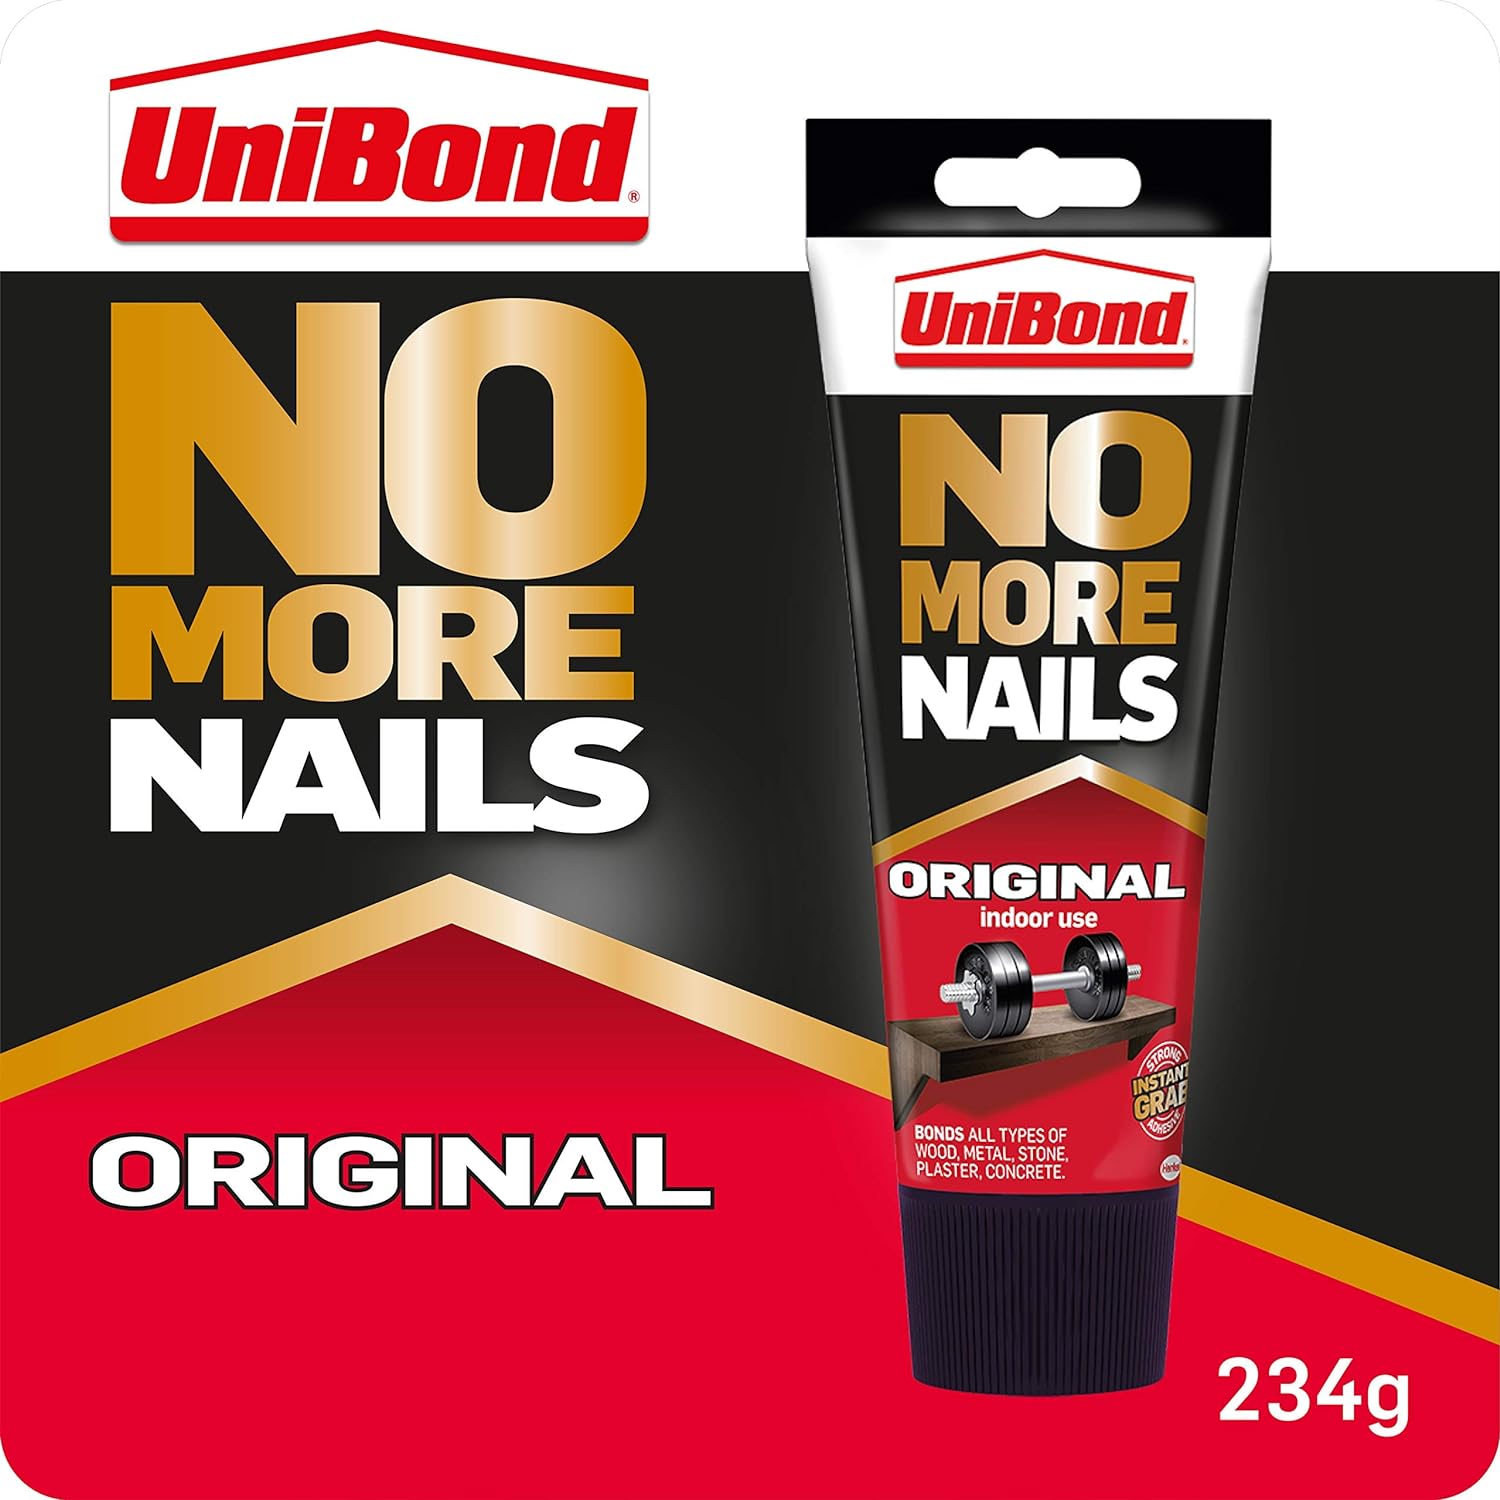
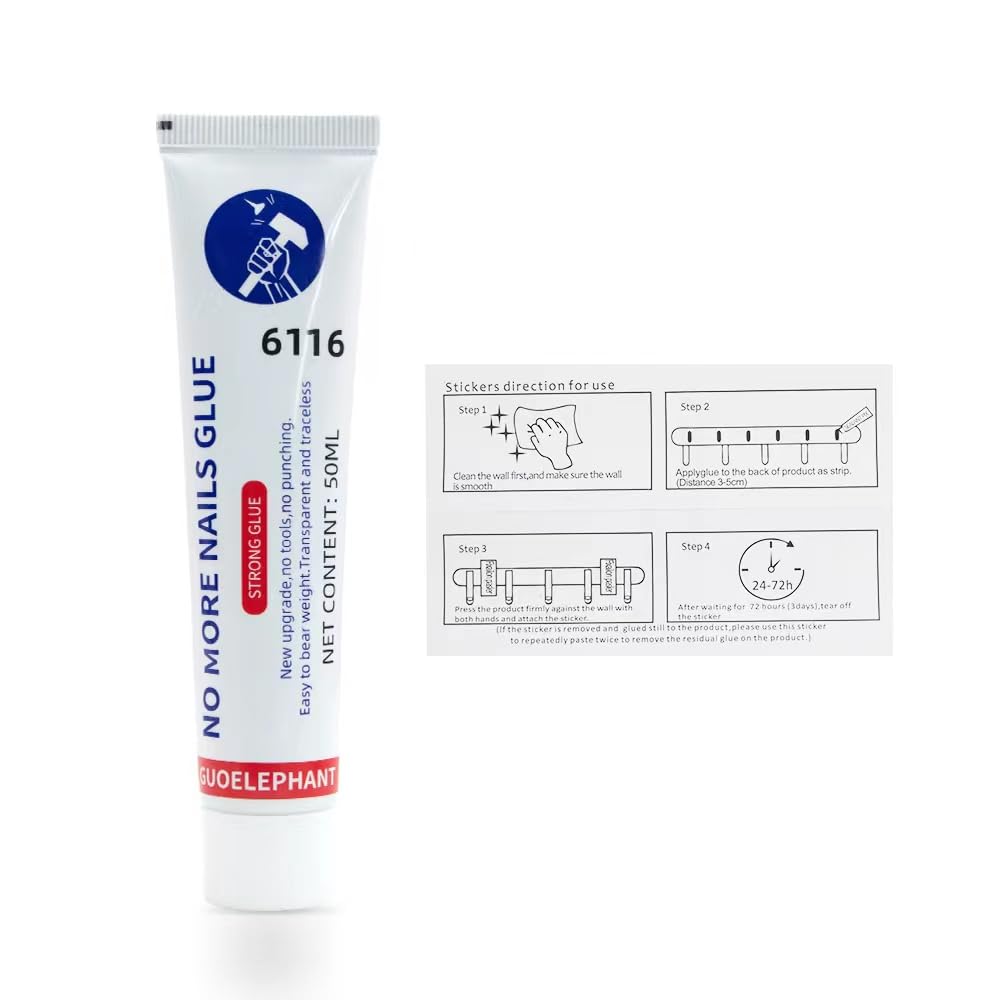
2. 50ML Guoelephant 6116 No More Nails Original
Get your hands on a little tube of magic with the 50ML Guoelephant 6116 No More Nails Original. This heavy-duty buddy packs a punch, sticking just about anything to everything—wood, ceramic, you name it—without breaking a sweat. And it’s waterproof, so bring on the splashes and spills! White and ready for action right out of the tube, it grabs instantly, because who has time to wait? Perfect for when you want to keep your walls hole-free and your stuff stuck fast.
Check Price3. UniBond No More Nails Waterproof
Meet your new DIY best friend: UniBond No More Nails Waterproof. This heavy-duty adhesive is a total game-changer, especially when you’re looking to hang mirrors or put up shelves without the drama of a drill. It grips to wood, ceramic, metal, and more, making it a superhero in the world of glues. Whether you’re working indoors or braving the elements outside, this instant grab adhesive won’t let you down. And with a generous 450g cartridge, you’ll have plenty to go around for all those projects on your list.
Check Price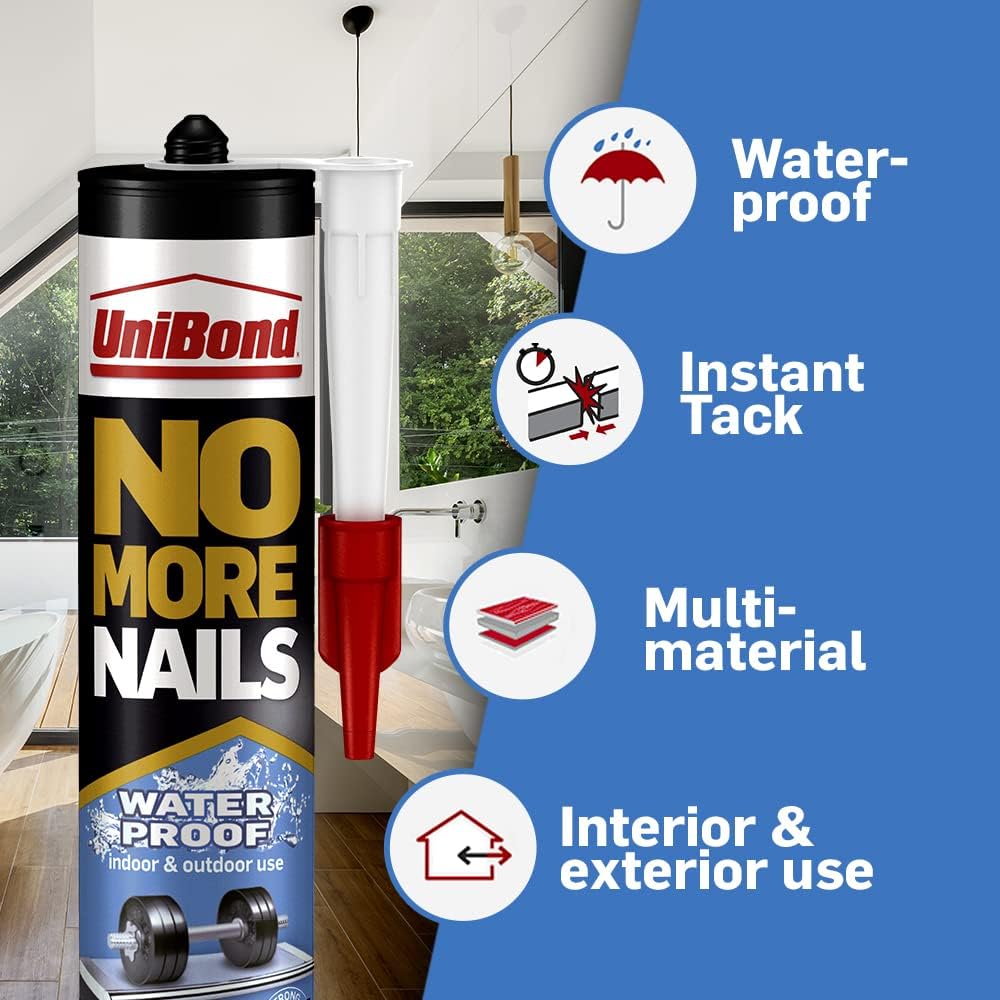
Wood for Floating Shelves
Choosing the right wood for floating shelves boils down to your style and needs. Oak is a solid all-rounder – durable, with a classic look that fits most decors. It’s like the loyal friend who never lets you down. If you’re after something more upscale, walnut is your star. Its dark, rich tones scream elegance. For the minimalist lovers, maple’s the way to go. Light, subtle, and sleek, it’s perfect for a modern vibe. On a budget? Pine is your pick. Affordable and easy to customize, it’s ideal for a DIY project. In the end, it’s all about what works for your space and taste.
Conclusion
Floating shelves between cabinets aren’t just a trend; they’re a smart, stylish solution to the age-old problem of insufficient storage, especially in smaller kitchens. They offer a unique blend of functionality and aesthetics, allowing you to personalize your space while keeping it organized and accessible. Whether you’re a seasoned DIYer or a novice, adding floating shelves to your kitchen is a project worth considering.
Remember, the beauty of floating shelves lies in their simplicity and the creative freedom they offer. They’re like a blank canvas, waiting for you to imprint your style and needs. So, embrace the magic of floating shelves and transform that awkward space between your cabinets into something beautiful and functional. Your kitchen will thank you!
FAQ
To install floating shelves between cabinets, follow these steps:
1. Measure the Gap: Accurately measure the space between the cabinets to ensure your shelves will fit.
2. Choose Shelves: Select shelves that match the width and style of your space.
3. Mark and Level: Mark the wall where you’ll place the shelves, using a level to ensure they’re straight.
4. Install Brackets: Attach the brackets to the wall, aligning them with your marks. If you’re not drilling, use strong adhesive mounts designed for shelving.
5. Set the Shelves: Place the shelves onto the brackets or mounts, securing them as needed.
6. Check Stability: Ensure the shelves are securely attached and stable before adding any items.
Remember, the specific method may vary based on the type of shelves and wall.
The depth of floating shelves compared to adjacent cabinets doesn’t have a one-size-fits-all answer. It largely depends on your aesthetic preference and functional needs. Here are some considerations:
1. Matching Depth: Having shelves the same depth as cabinets creates a uniform, streamlined look. It’s visually pleasing and offers ample space for larger items.
2. Shallower Shelves: Opting for shelves less deep than the cabinets can add visual interest and depth variation. This is a good choice if the area is narrow or if you’re only displaying smaller items.
3. Space Constraints: In smaller rooms, shallower shelves help prevent the space from feeling cramped while still providing additional storage or display space.
Ultimately, the decision should balance the look you want to achieve and the practicality for your space.
When installing floating shelves between cabinets, consider these guidelines for a harmonious and functional setup:
1. Consistent Spacing: Ensure equal spacing between the shelves and on either side where they meet the cabinets. This symmetry creates a balanced and aesthetically pleasing look.
2. Proportional Depth: The shelves should be proportionate to the depth of the cabinets. They don’t have to match exactly but should be close enough to appear cohesive.
3. Height Considerations: Align the shelves with the height of the cabinets or slightly lower to maintain a streamlined appearance. Avoid placing them too high or too low compared to the cabinet tops.
4. Weight Capacity: Be mindful of the weight limit of the shelves, especially if not using traditional mounting methods like drilling.
5. Visual Balance: When styling the shelves, keep the visual weight balanced. This means not overcrowding the shelves and distributing items evenly.
These rules help ensure that the floating shelves complement the existing cabinetry and enhance the overall look and functionality of the space.

